A Real-World Guide to Halogen IR Replacement Lamps
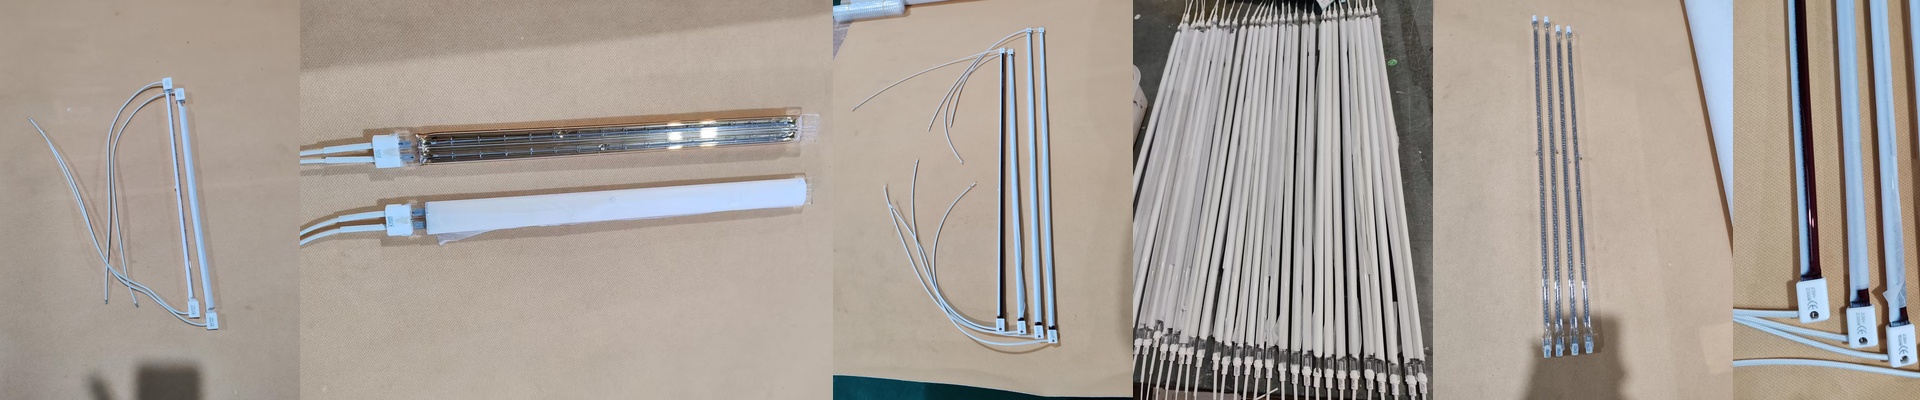
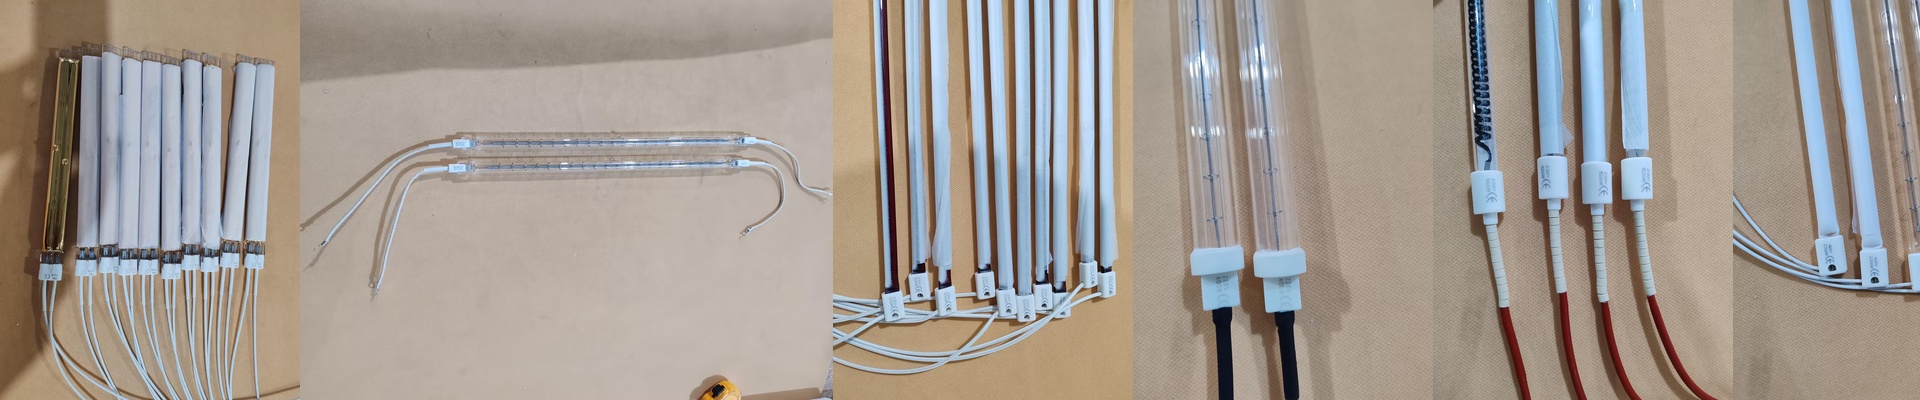
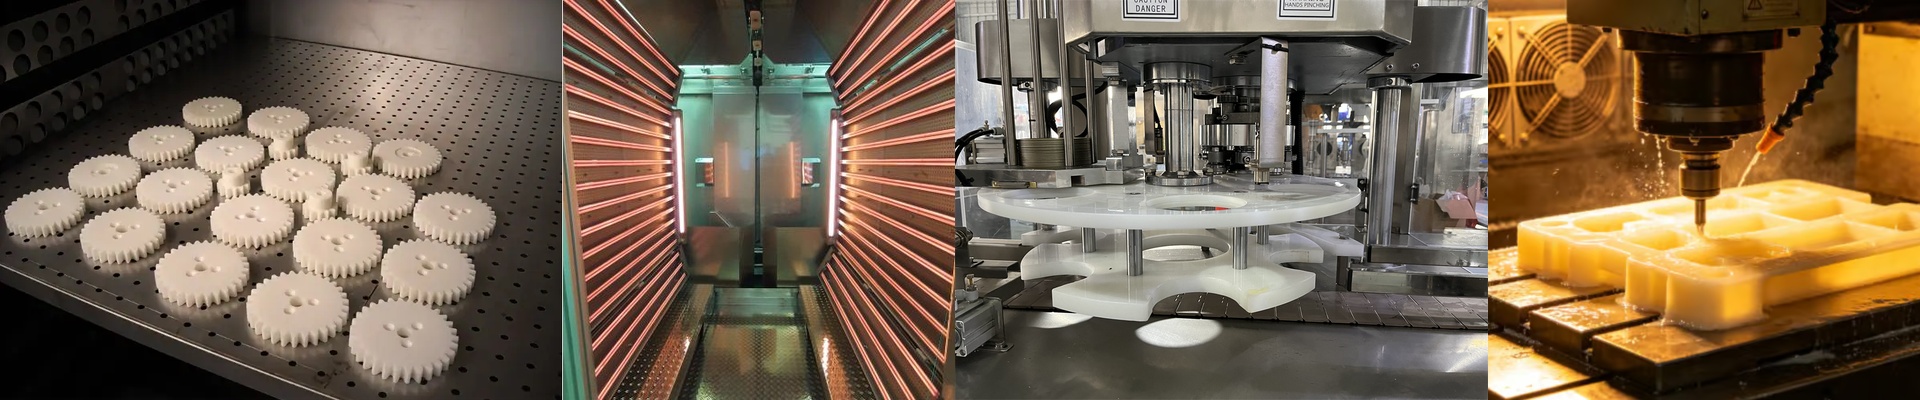
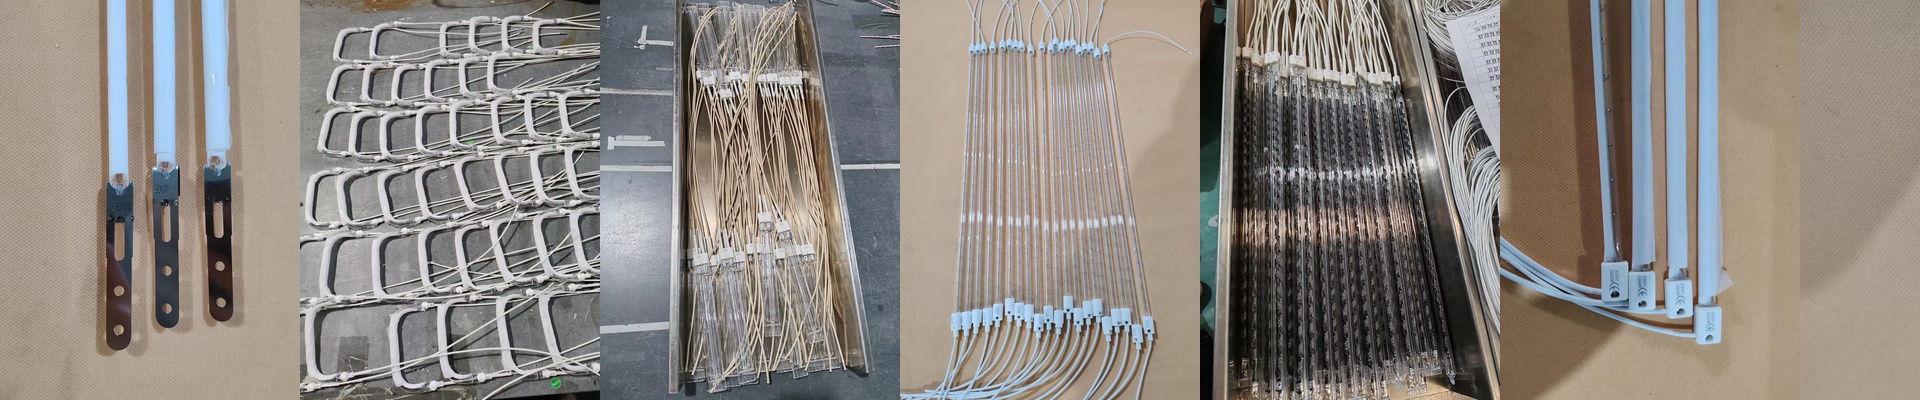
When we build these halogen infrared emitters, we’re basically creating high-density heat powerhouses for your industrial line. Inside, there’s a tungsten filament wrapped in a quartz envelope. We add a halogen gas fill to stop the filament from evaporating. Why? Because it lets us crank up the heat way higher than your standard IR tubes. That shift in the spectrum means the heat actually penetrates your material faster. It just works better. Getting the specs right Here is the thing about voltage and wattage: they control your heat flux. A higher voltage lets us use a longer filament without blowing out the leads. But please, double-check your measurements. If you’re swapping a tube into an old rig, the length has to be spot on. Even a tiny 2mm difference can put too much pressure on the quartz. Once that tube starts heating up and expanding, that little bit of stress can lead to a crack. And nobody wants that. The nuts and bolts We usually stick with R7s or Sk15 connectors. They’re spring-loaded or friction-fit, which keeps the electrical contact tight and stops any annoying arcing at the terminals. For those of you doing far-infrared work, we often add a special coating to the glass. It acts like a mirror, pushing the heat forward onto your workpiece instead of letting it bleed out into the machine frame. It’s a much smarter way to use your energy. Installing them (and the catch) These are pretty much “plug and play” for most PET blowing or curing lines. You get instant heat. No more waiting around for long warm-up cycles. But there is a trade-off. Because these tubes get so incredibly hot, any bit of junk on the glass can ignite. You’ve got to keep them spotless. A single fingerprint or a layer of dust creates a “hot spot,” and that will kill your tube in a fraction of the time it should last. Also, just a heads-up: if you’re packing a bunch of these into a tight space, make sure your ventilation can actually handle the heat rise. It gets warm in there.